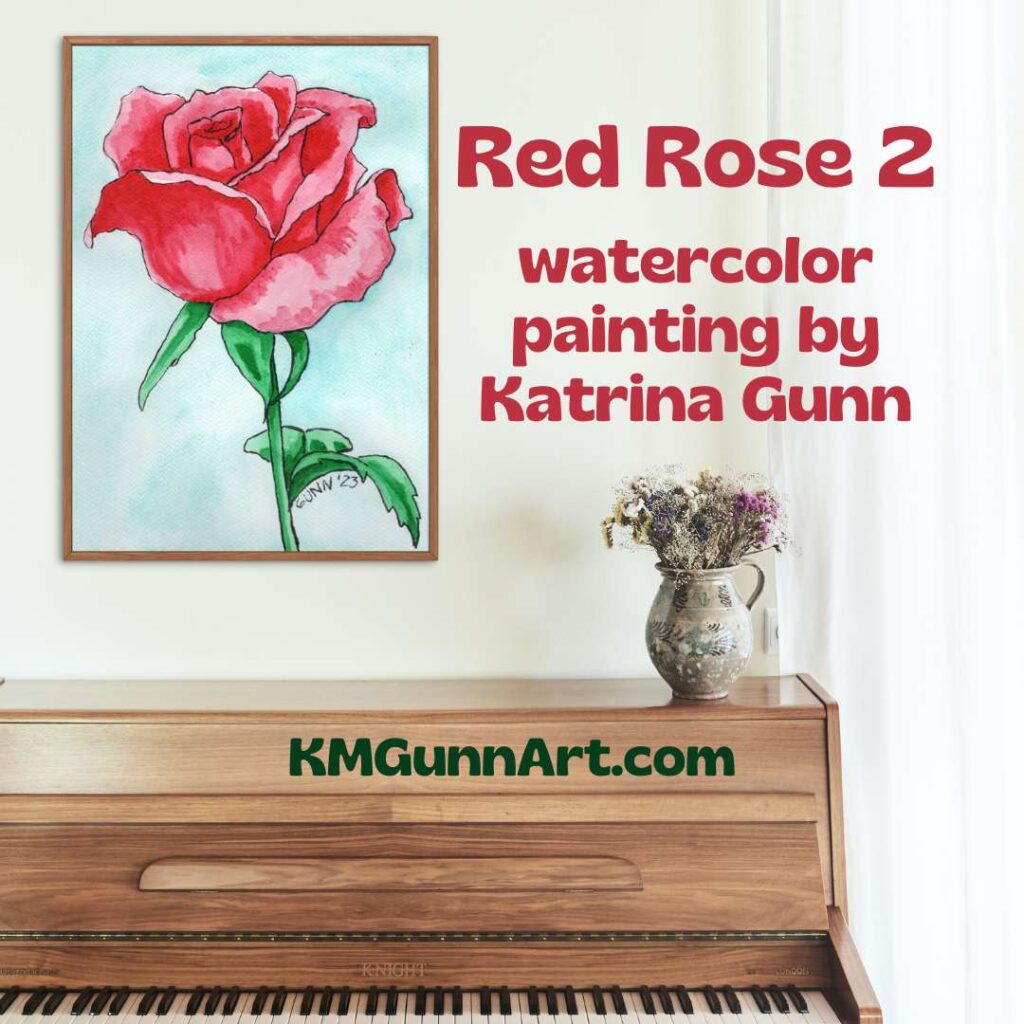
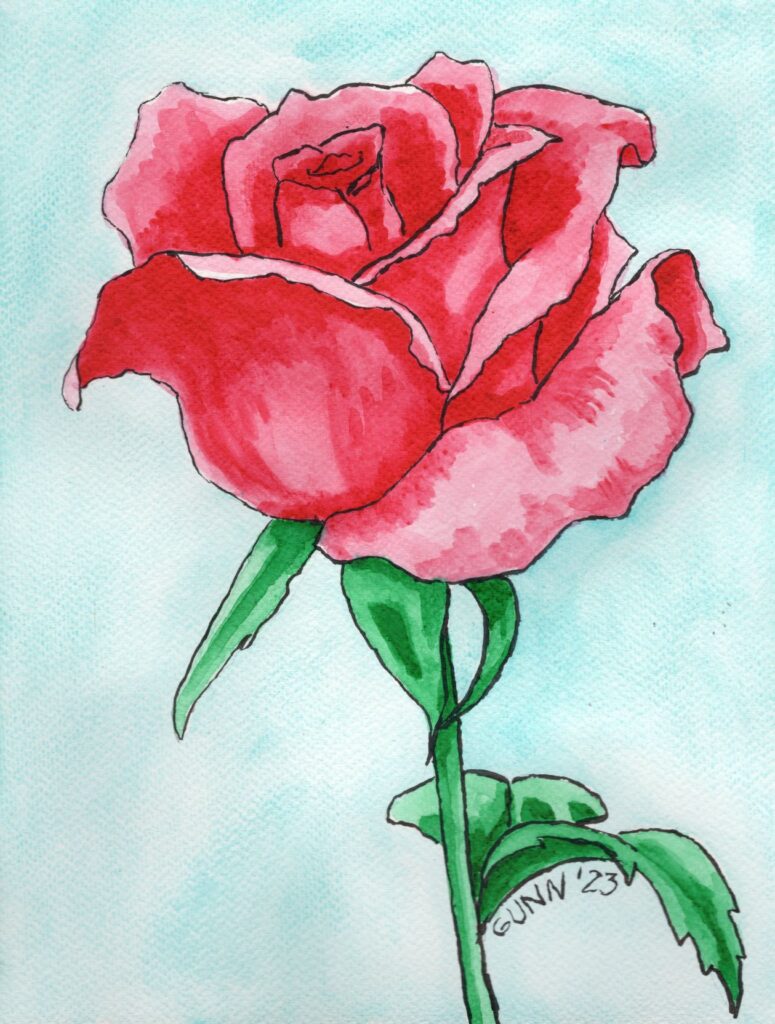
I had another idea over the weekend: I will be showing how I use my line drawings that I offer free to email subscribers. My first example is using my watercolor paints to make a lovely red rose painting.
Step one: Transfer the drawing
After I had learned that my grid lines and sketching lines might still be visible on the finished painting, I bought some graphite transfer paper. This way I can sketch it in my sketchbook, erase, and redraw however many times necessary until I am happy with the lines, then put the finished drawing onto my watercolor paper.
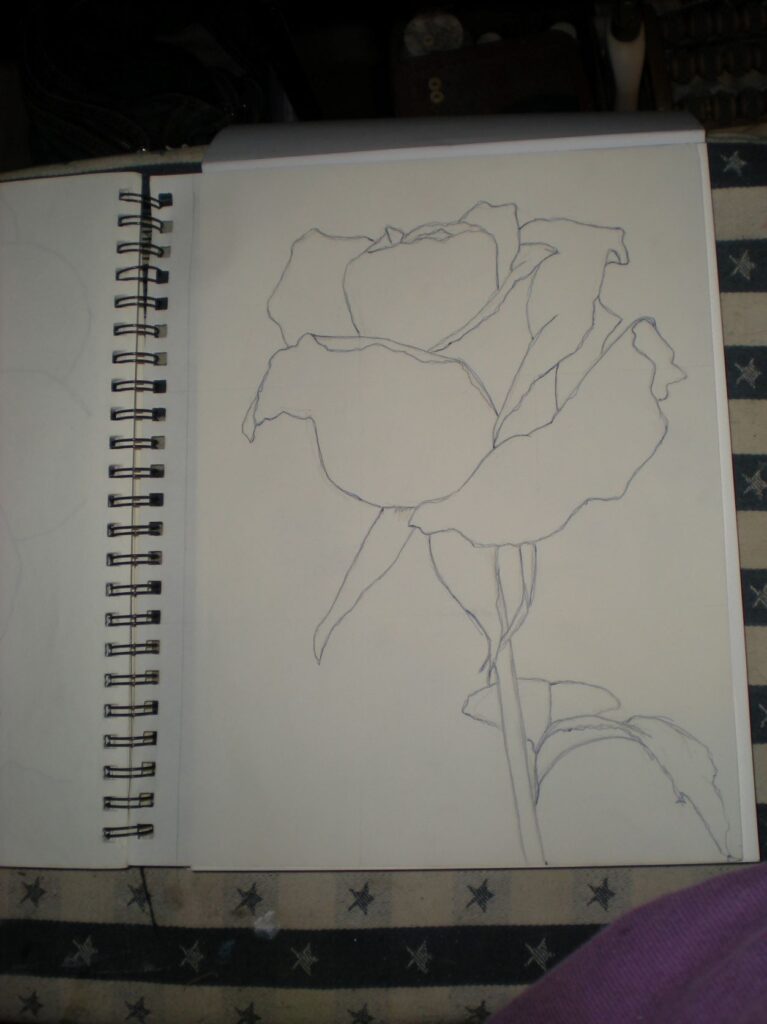
Because I inked the line drawing onto decent-weight watercolor paper, I actually needed to go back to the sketchbook for my original drawing. I think a standard ballpoint pen works best with the transfer paper, so some of my sketchbook pages are getting multiple colors of ink over the graphite or charcoal I use to do the drawings.
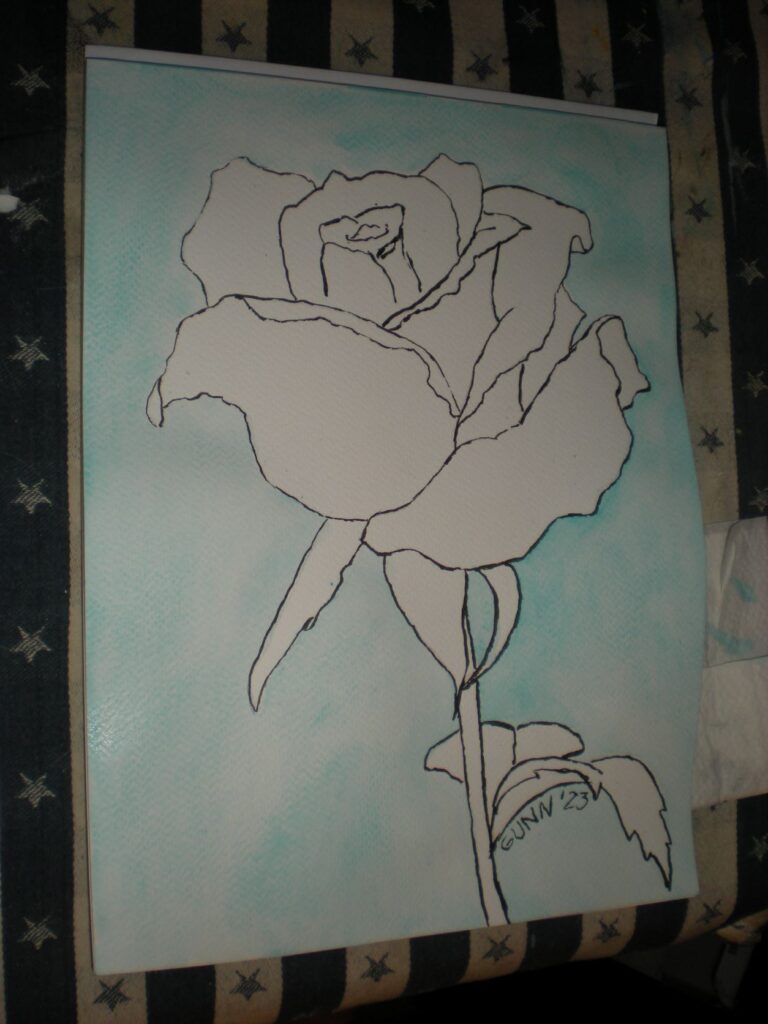
For this piece, I inked the lines with waterproof India ink. I used one of my husband’s brush pens to do it, since he has been very happy with how his drawings turn out using them. One of the brush pens is labelled in either Chinese or Korean, so I couldn’t be sure it was waterproof. The other he loves is a Pitt brand and says on the side it is waterproof India ink. I had first tried to use my calligraphy pen and ink, but the ink has dried too thick of a consistency to draw neatly.
Step Two: the background
I wanted a simple, single color for my background – and I have been just watching and waiting for the right opportunity to use this lovely teal blue that came in my QoR high chroma set. Seriously, how can someone who loves vivid colors (as I do!) not want to use this color? The only question I started with was, “How many layers to get the right level of saturation?” My answer is just one. I didn’t want it overpowering the main subject, but I also didn’t want an unpainted white.
Step Three: Get into the art zone and finish it!
I waited patiently for the background to dry completely this time to avoid paint bleed issues. Plus, the paper buckled because I wasn’t using one of the blocks (where the page edges are glued in place) so I had to wait for it get mostly-flat again. This is where the in-progress photos stop, because I got into the zone and just painted until it was time to wait for the next layer of paint to dry completely.
Working with red and green next to each other on the paper is a tricky thing in watercolor painting. If these two colors blend or bleed into each other, you can get a very unattractive color we often call mud. When you mix two colors that are opposite of each other on a color wheel, the result is somewhere between gray and brown. For a red rose with a brilliant green stem and leaves, I wanted the colors to be as clear as possible.
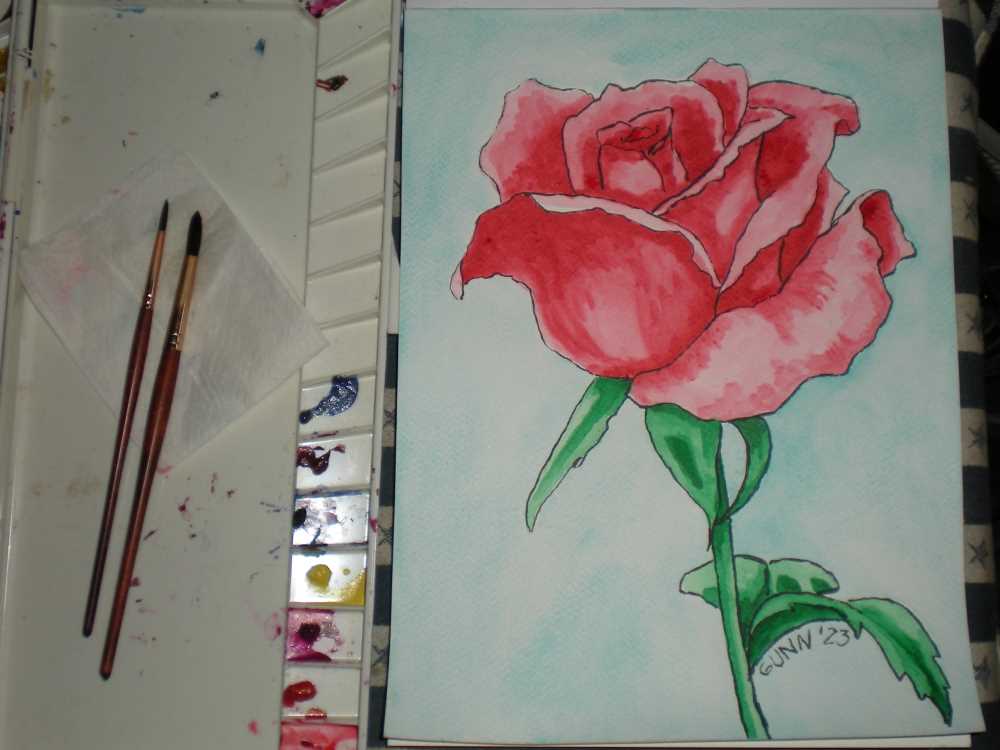
After this first layer dried, I went over the shadows again on both colors to deepen the shadows. Then I needed to wait for it to dry again to see if a third layer was needed. I used my Mijello Mission Gold paints for the flower itself, and this brand has very little color shift when dry.
So, with just one layer of paint for the background and two layers of paint for the rose, this turned out to be a rather quick painting! I just love it when everything feels like it is just falling into place. No need to wrestle the art onto the paper. It felt like it just flowed out from my brush.
Links to purchase this painting or prints
The original 9 by 12 inch watercolor on heavy paper is available to purchase here. If you want a larger or smaller art print of this painting, you can find the right size at my Pixels shop. To buy this printed on apparel, home accessories or even tech accessories visit my RedBubble shop.
More red rose artwork
I am almost embarrassed to note that this is only the third red rose at any stage of bloom I have painted or drawn! I must remedy that over the next few weeks. My only other previous watercolor painting of a red rose is my Red Rosebud 1, which is a small watercolor sketch of the very beginning of the petals unfurling. The other is my Red Rose I did in oil pastel on canvas board.
Coming attractions
I will be doing at least one more of these before the month is over, so stayed tuned! Better yet, put your email address in the form and get your own copy of the printable rose coloring page and color along with me. I am feeling a new pink rose and/or white rose in soft pastel.

No need to be embarrassed about having several red roses. There can never be too many! I love to see your process, too!
My embarrassment was about how FEW red rose images I’ve produced. I honestly thought I had more.
Always enjoy seeing your process. Nicely done.
Thank you, Bob! And that seems to be what others are saying as well: more in-progress photos.
Lovely explanation of the process of creation of your red rose watercolour which will hopefully inspire your readers to give it a go!
Thank you, Dorothy. I hope you are right about that!