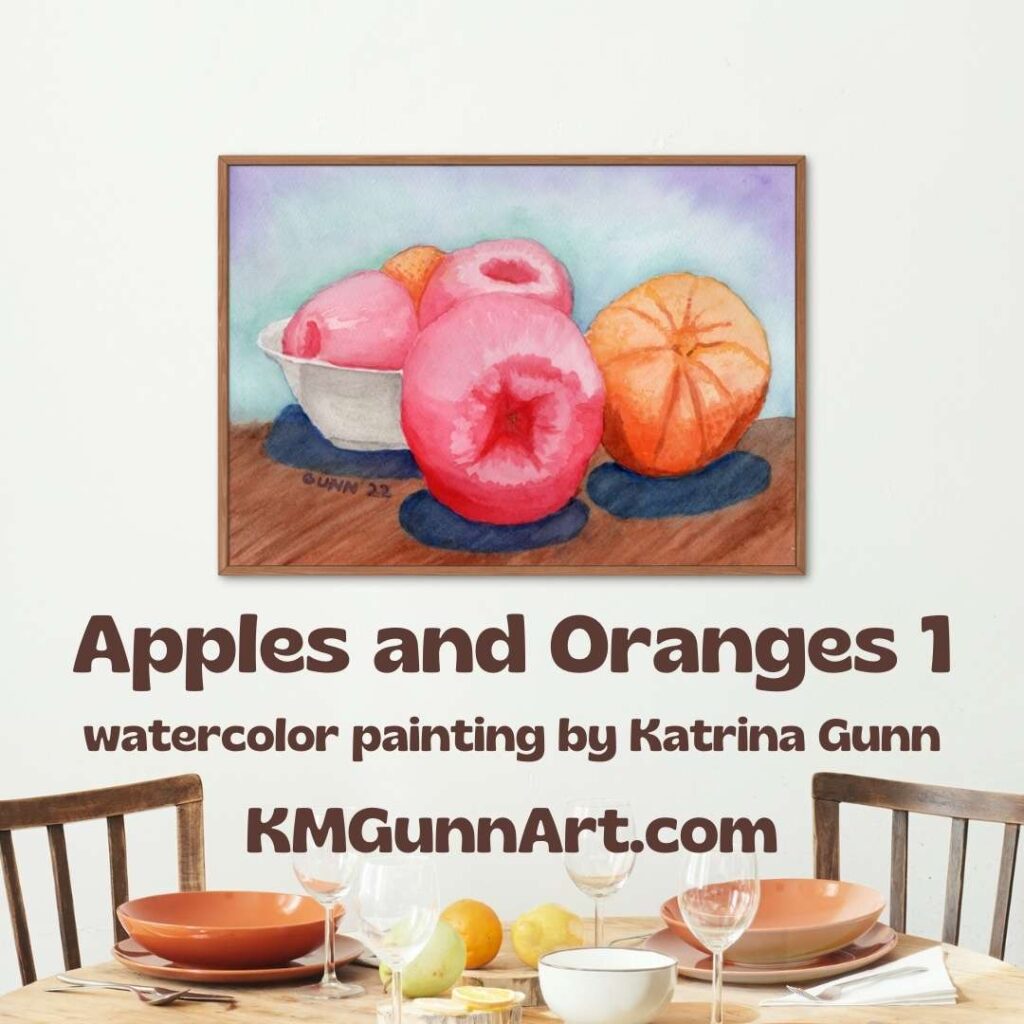
So, I signed up to participate in a short three day art challenge solstice week with the theme of fruit in a bowl. Not even a full second had passed when I already knew what the first artwork would be: a watercolor still life painting using the reference photos from last year that inspired my Apples sketches and acrylic paintings. This time, though, I would only use photos with apples and oranges together in the frame. The bowl requirement excluded a handful of photos, but there was still plenty to choose from.

Choosing the reference photo
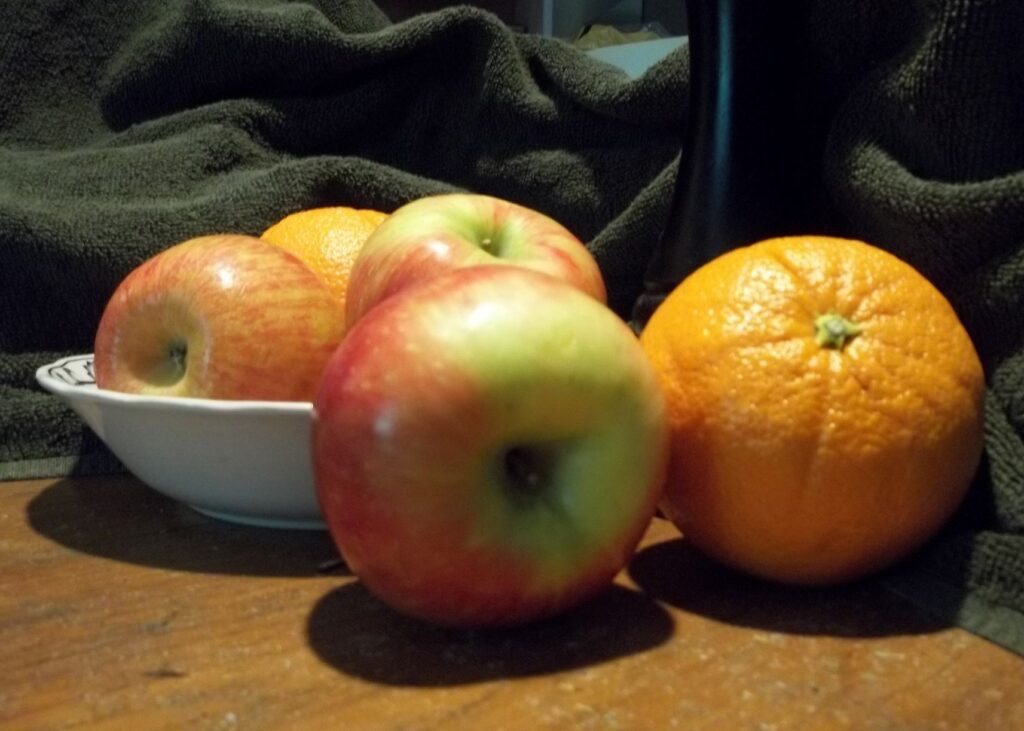
Armed with the parameters of the specific theme for this art challenge, I began browsing my collection of photos taken on my own kitchen table with fruit chosen for its appearance. Yes, I actually went grocery shopping for fruit (and some vegetables) for the purpose of getting myself some reference photos that had the layout and lighting to draw and paint. As most of y’all know, I am blogging buddies with a handful of fine art photographers, and my hundred-or-so photos would probably make each of them cringe. I do not claim to be a photog, but sometimes I can get a snapshot that will make a decent painting reference. Focus tends to be a bonus, not a hard requirement. Here is the photo I chose for the first painting.

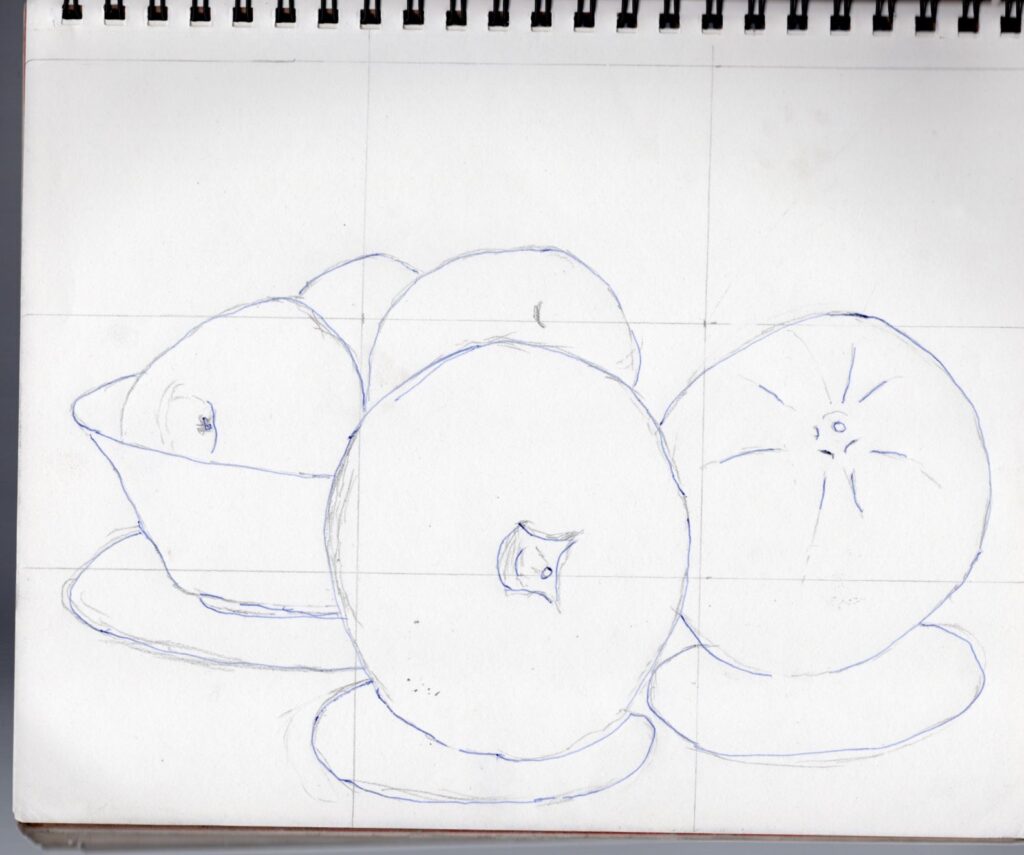
The preliminary sketch done in the sketchbook
I have learned from experience to do my gridding and layout in my sketchbook, not on my watercolor paper. Once I am happy with the general line drawing, I transfer it to my watercolor paper with graphite transfer paper. Then I take a kneaded eraser to clean up the lines and lift up any smudges from resting my hand on it.

This is where the progress photos stop, because once I picked out which paints I wanted to use, I got into the art zone and was only thinking about how I would apply the paint to paper. It took more layers than I expected, because apparently QoR brand watercolor paints have a color shift when they dry. I did do almost the entire painting with my newer QoR set, though I needed to pull out the burnt umber from my Turner set because I had evidently forgotten to make sure I had a nice strong dark brown tube when I purchased the colors last time. I’ll need to fix that with my next art supply splurge, maybe in January.
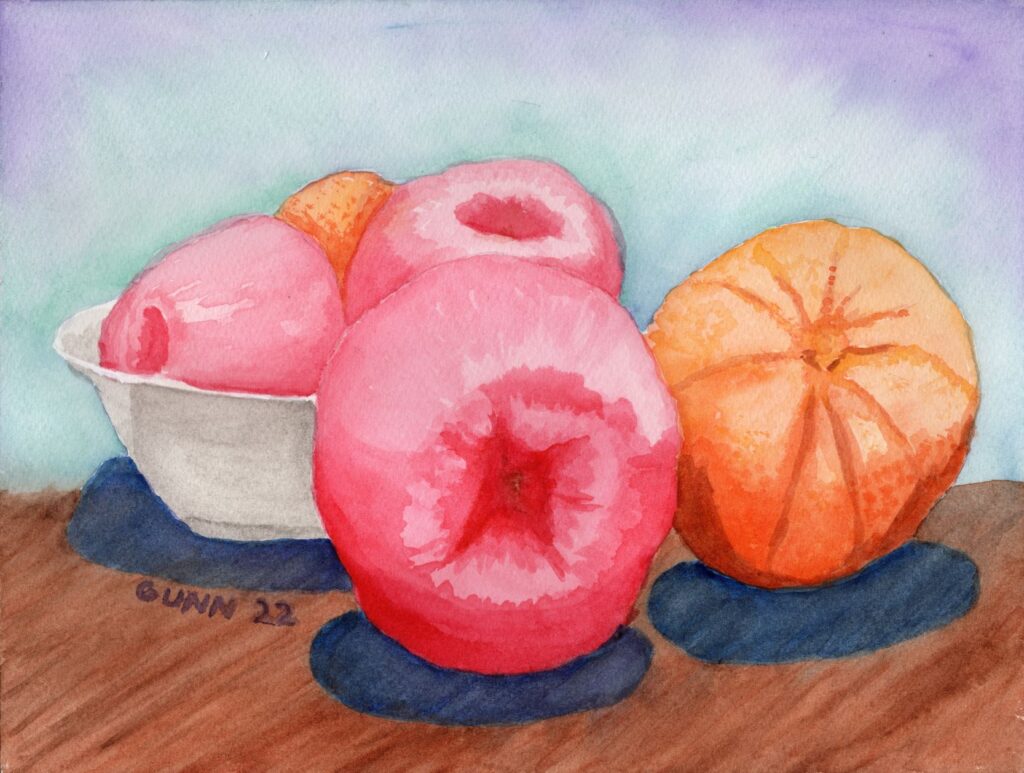
The finished still life in watercolor
I painted this fruit still life (with a bowl) on my 9 by 12 inch watercolor block, which means I did not need to tape a sheet of loose paper to a board. That means the paint goes all the way out to the edges, which is now my preference. I have not sealed it yet, because I am still debating if I should add another layer of pigment to the front apples and orange or not. If you want to purchase the original watercolor still life painting, you can make that decision for me.

If you want a larger version, you can order a fine art print all the way up to 60 by 45 inches (before matting and framing) from my Pixels shop. That’s almost as tall as I am on the long side! Or, if you prefer your art printed on apparel or useful accessories for you and your home, check into the swag at my RedBubble shop. Finally, if this one is “close but not quite” for you, you can always commission a slightly different piece. I have a 12 by 16 inch watercolor block now.
Stay tuned here for the second piece in this series, which will not be in watercolor, but will still be named “Apples and Oranges.” Or put in an email address so you can have the next post delivered to your inbox. I don’t seem to be able to keep a regular schedule for publishing new blog posts, so that’s probably the best way to keep up.

Thanks not only for the finished work but show all the work behind the scenes
Thank you, Steve! While the next one has just as few progress pics, the last in the series will have many more.
Love your articles that show the process rather than just the finished work. I’m sure they’re useful to many aspiring artists.
Thank you, Bob, and I look at it more as a “How this is made,” type thing. The third in this series has a lot more in-progress pics, since I have had more time to work on it.
Yes, it is fascinating to watch how this develops from the original photo to the finished piece. I think photographing my mouse moving would be nothing like as interesting as I apply my oil paints to the photo on my screen!
Nice to see the sign-up form as well – I hope many followers take the bait and sign up to your newsletter.
Thank you, Steve, although it isn’t “bait” as much as it is a matter of the major social media platforms’ algorithms being … um, let’s use the word “unreliable” to be polite. I could see other photogs thinking about enhancement software being interested in your process.
I really enjoy the “how I did it” blogs. The final images are always beautiful!
Thank you, Sharon! And it’s good to see you blogging again.