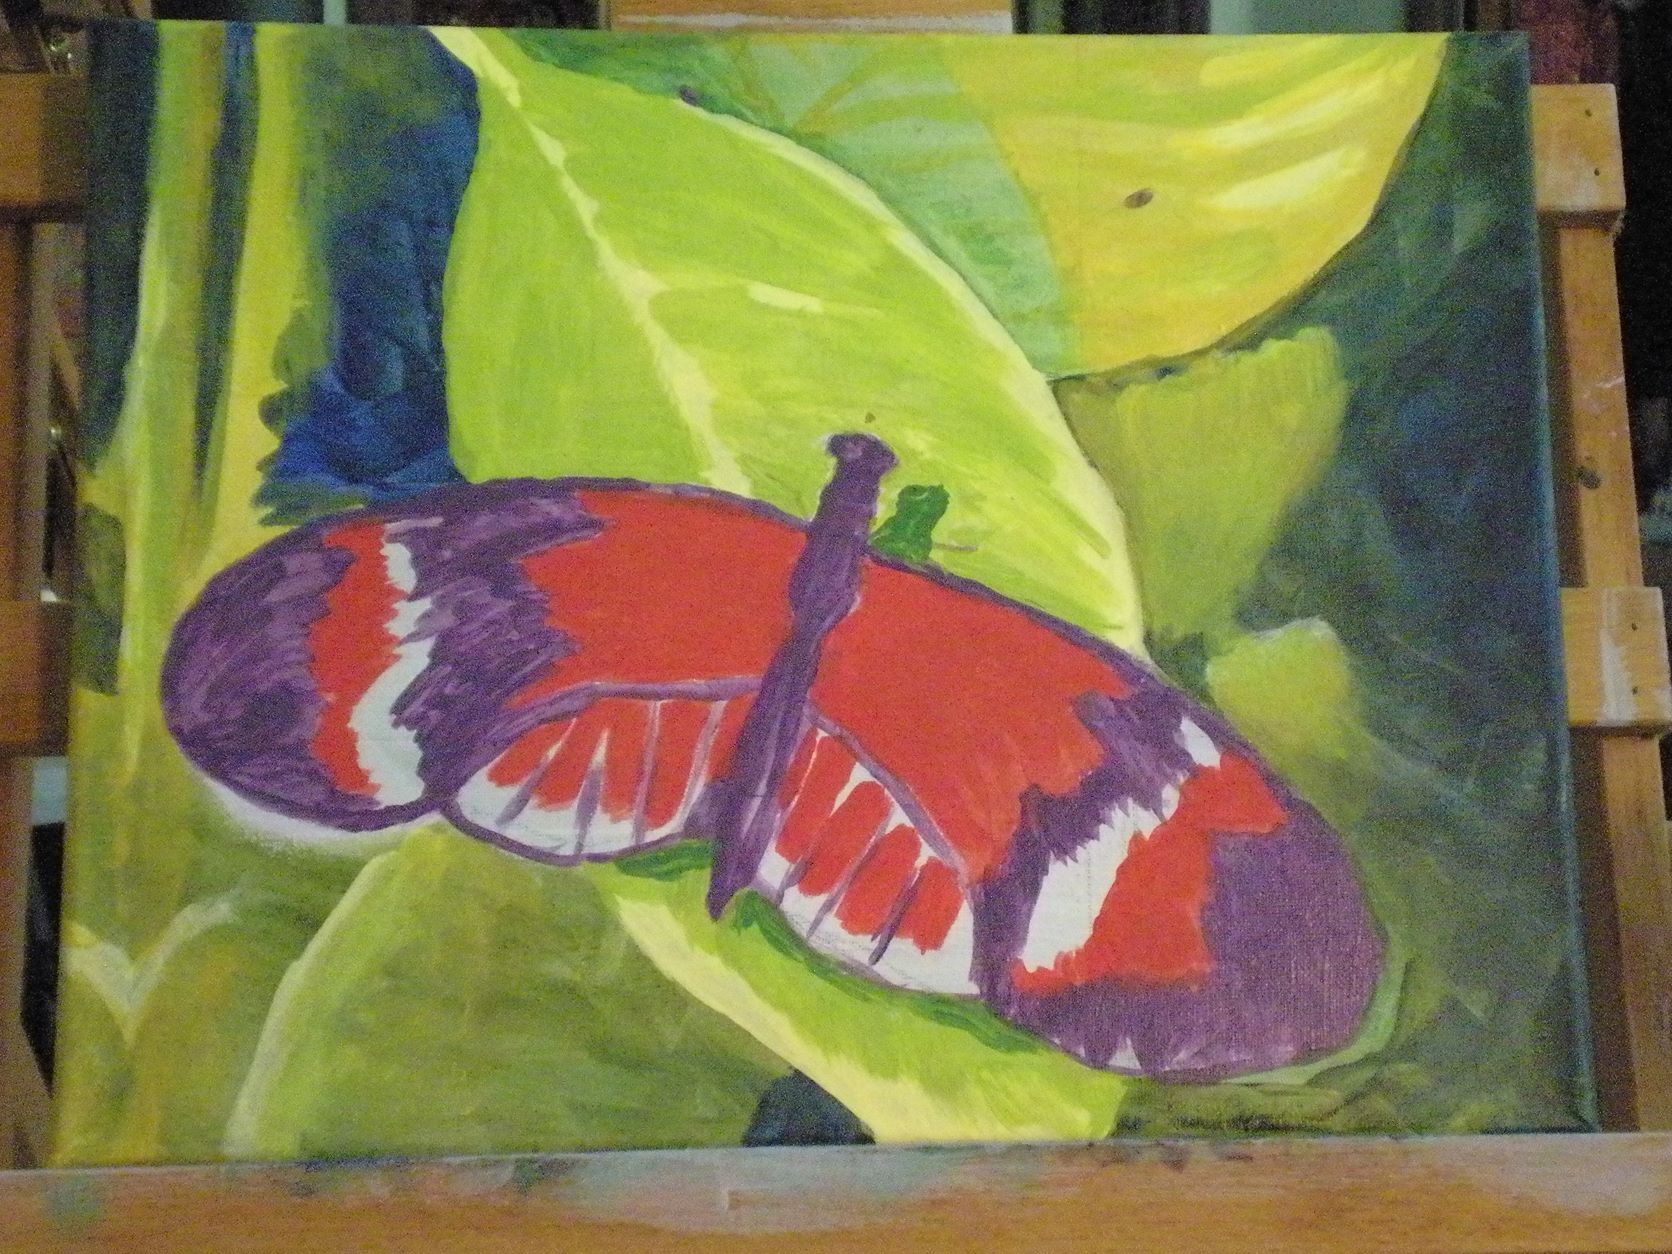
I felt motivated to paint today, and this painting of a red admiral butterfly has actually been on my easel for a few weeks without progress. I originally picked out the subject and reference photo back in November for the red challenge that I didn’t finish. In fact, I had even done up an acrylic sketch on paper. You can even get a print of the sketch, though once I complete the final painting and scan it in, I will be replacing the image that is there now.

I did it quickly, and in the evening after running errands around the county and was tired and my back hurt … yet when my friend Keashia saw it, she immediately said I needed to do it again “for reals.” I didn’t get around to that until last month, and am not setting any speed-painting records on it, but today I’ve managed to make it look like I want it to look.

Yes, that is purple where I will eventually be painting black (maybe). I have two sampler sets of Golden brand Open acrylic, which is their slow-drying formula made for the en plein aire painters, but right now I am using the quick-dry acrylics to get the undertones down. I don’t have actual black in the Golden Open sets, but I do have a very traditional work-around: ultramarine blue and burnt umber, along with a convenience mixture they call sap green which I am using in the background of the piece.
The red admiral butterfly
When I looked up the red admiral butterfly, all the sources said I ought to have seen this pretty and eye-catching bug at least over the winter season, as Florida is very much in their habitat range. Alas, I have yet to catch a glimpse of one, though we have plenty of swallowtails and sulfurs fluttering across and around the property. I’ll be painting those as well in the future.

Well done, Katrina! I do like the purple color that you have. Looking at them side by side, I’d say that the black makes it look more dramatic and vivid. I look forward to seeing your swallowtails!
Thank you, Deb. Red Admiral is already looking a little different, and I still haven’t made the final decision on whether to use actual black or make a chromatic black (I suspect that will be a blog post of its own) but right now I am still trying to get depth in the greens, which is a matter of layering the quick-dry paints before I put a final layer of the slow-drying Open paints, which I expect to be able to blend as if they are oil paints.
It will be interesting to see how it develops as you add more details (I’m reading into this that this is the initial sketch and you continue to work on it until you are finally satisfied?) You could do a post on the evolution of the painting if you keep taking photos as you move along!
I’ve wondered how much interest there is for that type of post – which is why I made the “On the Easel” category. My usual problem is getting decent snapshots of the work in progress, especially when the paint is wet. Considering oil paint can take up to three weeks before it is dry enough to be touch-dry, I usually forget that step. Plus, y’all got to remember that I make NO claim to being a photographer. You’ll just have to believe me when I say this snapshot isn’t how it really looks, although it is “close enough.”
Beautiful art with interesting description of your process. I’ve yet to see one at our home.
Thank you, Jim!
I really like the red, white, and black color scheme you’re using. It’s definitely eye-catching! That’s how it is when we let nature inspire us. 🙂 I look forward to seeing the finished painting.
Judith, thank you (and another vote for actual black in the final layer).
Definitely! With the red and the white… it really makes the art stand-out. Very eye-catching.